
How to Change Your Ostomy Pouch
Basic Tips for Changing your Ostomy Appliance
By Wendy Lueder
If you feel overwhelmed by changing your appliance, please know that your feelings of anxiety will diminish over time. I know it can be difficult at first but it will become more routine with practice. Knowing just what you’re going to do can be helpful so here are some basic guidelines that you may wish to use.
- To start, wash your hands!
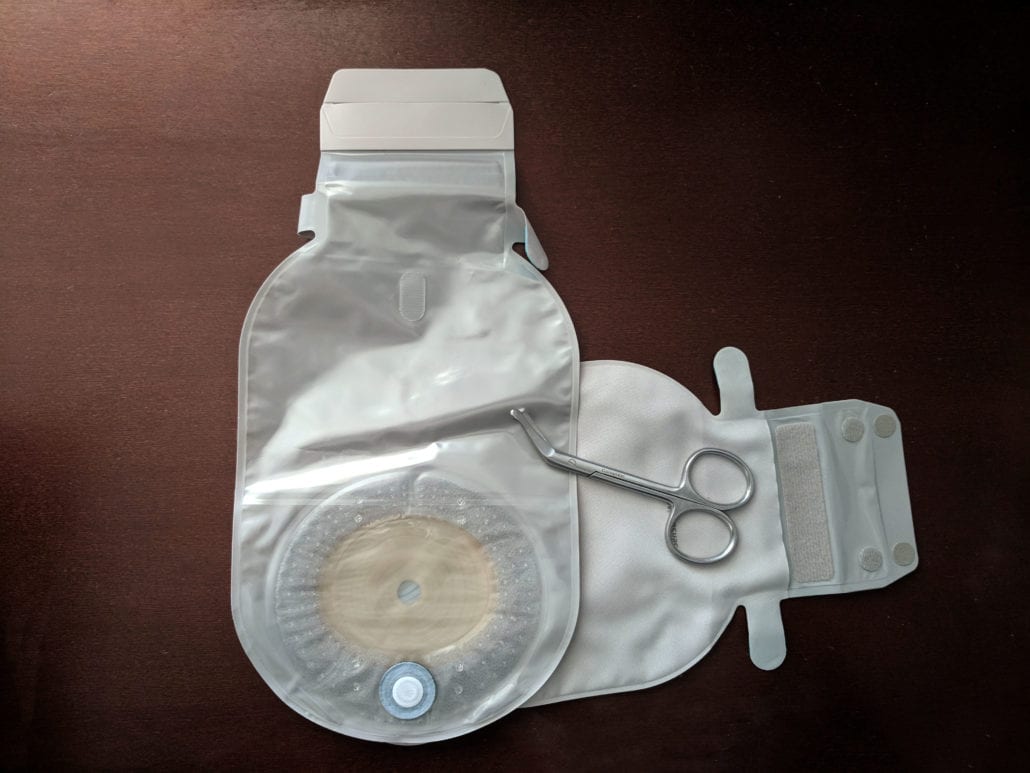
- Set out your equipment within easy reach on your bathroom countertop. You will need: an old bath towel on the floor and Kleenex tissues (without any lotion!) to catch any unwanted output while changing; plastic bags for clean-up; a washcloth if you don’t shower; clean bath towel; pencil and stoma measuring guide; scissors or x-acto knife if you don’t use the new “moldable” skin barrier wafers; a skin barrier wafer; Stomahesive or HolliHesive paste or product such as Eakin Cohesive Seals (preferred by this writer) a new pouch; a tail closure if you use a drainable pouch that doesn’t have the built-in Velcro closure ; hair dryer and finally, a swivel make-up mirror.
- Empty your pouch as normal. DO NOT rinse your pouch out when emptying. This only reduces adhesion. If you get this advice, ignore it. Rinsing out pouches is an obsolete suggestion that is totally bothersome and no longer valid for modern ostomy equipment. Empty your pouch while sitting comfortably and normally on the toilet. Put some toilet paper in the bowl first to avoid any splashing. If you use a tail clip, carry an extra one with you in case you accidentally flush yours down the toilet
- While holding a corner of the tape that holds your appliance to your body, gently push your skin in toward your body to remove the appliance. Pushing your skin inward is far less harsh on it than if you pull the appliance off and away. Try it and feel the difference. You only need to use an adhesive remover if: A) you have worn the skin barrier wafer a very short time and the adhesion is still very strong and/or B) your skin is irritated or tender and can be easily damaged. I personally prefer the spray adhesive removers as they leave less residue. However, I only use them if I have worn the barrier for less than two days between changes.
- Put the old pouch, wafer and other waste (not the tail clip!) into a plastic bag for disposal. Sealable sandwich bags work great.
- Clean the skin around the stoma with a washcloth and warm water or by getting into the shower and using your hands. Be gentle. Do not use scented or cream soaps as they will diminish adhesion of your skin barrier. Any waste coming out of the stoma will merely wash down the drain.
- Pat your skin dry with Kleenex and for best results use a hair-dryer on low setting to complete the job. The cleaner and dryer your skin is the better your skin barrier will adhere.
Measure your stoma with a measuring guide (usually supplied in the box with your skin barrier wafers) using the make-up mirror placed on the countertop to get a better look. This is especially important if your surgery is recent as your stoma will become smaller over a period of months.
For all Skin Barriers except StomaHesive Wafers measure right up next to the stoma. For StomaHesive Wafers add an eighth of an inch space between the stoma and the wafer hole. Only this brand of wafer is “stiff” and could damage your stoma if it is too close. All other types of skin barrier wafers are more flexible and won’t damage the stoma if placed right up next to it. If your stoma is oval take two measurements, one each of the larger and smaller diameters.
- Trace the correct size and shape onto the back of the wafer with the starter hole in the middle. Cut out the hole either with your scissors or more easily by using an x-acto knife.
There are new moldable skin barrier wafers that you do not need to cut but merely manipulate to create the correct size opening. This is especially helpful if your stoma is oval and is highly recommended by this writer. Follow the manufacturer’s directions to create the perfect size opening for your unique stoma.
- If you use paste, peel the paper from the wafer and apply the paste only by the width of the tubes opening around the cut circle in the wafer. Allow alcohol to evaporate for approximately thirty seconds. Unfortunately paste is poorly named. Paste is really merely caulking and has no adhesive property.
If greater protection is needed than paste can afford (such as for ileostomates who have a caustic output), try using an Eakin Cohesive Seal or similar product instead of paste. these seals have the consistency of silly putty, and lasts far longer and will not wash away from heavy output.
Small dabs of paste or small pieces of Eakin Seals are great to fill any dimples in your skin that you may have. The flatter the surface of your skin around the stoma, the better the seal. Do fill in those dimples if you have them.
- While leaning slightly backwards to smooth out your skin, remove paper backing from the skin barrier and apply it slowly and carefully over the stoma. Use the magnifying side of your mirror to see that you are correctly setting it in place. Remove the paper backing from the surrounding tape and smooth it out on your skin being careful not to create any wrinkles as they may latter dig into your skin.
- If you use a two-piece system, snap the new pouch onto the wafer. Never tug down on the appliance to see if it is secure. Instead, feel with your finger all around the “Tupperware” closure to make sure the pouch and wafer are as close to each other as can be. If you detect any space, push the pouch toward your body until you feel it close the gap. You may hear a series of clicks as you apply the pouch.
- If you use a tail clip, apply now. Hold your appliance in place with your hand for a full five minutes to ensure a secure seal. All skin adhesives are more effective if held in place after first application as the heat from your hand improves adhesion. If your stoma is flush to your skin, use a skin barrier wafer with built-in convexity. The convexity will gently push the skin toward your body around the stoma giving it some extra length. When the stoma thus protrudes a bit more, its output goes more easily into the pouch. The new adhesives and skin barrier wafers stay put well for days.
Some bleeding is normal when touching your stoma, but report any unusual color, size, shape, or bleeding to your Ostomy nurse. Try different products. Call your Ostomy nurse or ostomy supply companies and ask for free samples. You may have to shop around to find products that leave you feeling comfortable and secure. You should be no more aware of your appliance than you are of your underwear. Always follow any special instructions provided by your health care professional as they know your specific situation better than any general guidelines an article such as this could provide
If your abdomen is very hairy, you may want to gently shave off the hair under your skin barrier wafer. Be careful not to cut or damage your skin.
These suggestions are gleaned from years of helping ostomates cope and are just that, suggestions. They come from over thirty-five years of experience, but are in fact just the input from a layperson. I’m not a nurse, I’m an ostomate. Your healthcare professionals always know best and you need to follow their advice, not mine.
Bottom line: Your appliance should be comfortable, stay on for at least a few days between changes, odor-free (not odor resistant) and leak extremely rarely. If not, go see an ostomy nurse and change your routine until you find the products that work well for you. Best of all, studies done at Duke University verify that the longer you’ve been an ostomate, the better it gets. Problems do diminish with time and experience. You should be able to forget you’re an ostomate and get on with doing the things you really enjoy. There’s no stopping you.
Additional Tips for ileostomates only:
Try changing first thing in the morning when output is at its slowest. Many ileostomates report that eating four to five marshmallows right before changing stops all output from the stoma for several minutes. I personally have found this to be true. As marshmallows are pure sugar, please don’t try this if you’re a diabetic.
As the output for ileostomies is far more caustic than for colostomates and urostomates, don’t put off changing your appliance when needed. There are two indications you need to change, one is “itching” and the other is a “burning” sensation. If you itch, it may be merely dehydration. Drink a glass of water. If the itching continues, you need to change. If you feel a burning sensation on the skin around the stoma, change as soon as possible. The output from your ileostomy is caustic and will damage your skin. Avoid the vicious cycle of damaged skin -> poor adhesion due to damaged skin -> leakage -> damaged skin.


I wear a Coloplst mio drainable one piece. I have found that my wear time doubled with rinsing the pouch. I do not rinse because of odor. I rinse to keep the tail cleaner so the roll up closure stays flat and the pouch fits better with the hernia support belt. Most of the time I get 6 days wear time.
Please don’t be daunted with all the steps listed. You likely will not need to do all that.
My method of changing my pouch is much simpler. I have an ileal conduit. I stand at my sink with a washcloth on the edge to catch any drops. I have my pouch, wafer, and an adhesive-removing wipe (love the wipe) ready. I remove the bag and put it in a plastic bag to be disposed of, wipe around my stoma with the adhesive-removing wipe (feels good and dries immediately), and then I stretch open the hole on my Convatec moldable wafer over my stoma and snap on the bag. It takes me a minute, max. I’ve been doing this for a year and a half and it’s handy and secure. When I take a shower I remove the bag and let the water rinse off any mucous around the stoma.
My husband has had an iliostomy for about 40 years unfortunately he now has dementia and can’t walk, as his wife I think the next step will have to be me emptying the bag – any tips please?
I have just ordered some pulp bowls, any good?
Hi Victoria,
We actually have a post about Dementia Stoma Care. See https://www.ostomy.org/dementia-stoma-care/
Stoma for 37 years. Now cannot walk or stand and struggling to empty/change my pouch. Please let me know or give me tips when you find solutions. What are pulp bowls.
I have an ilieostomy. I have been home from the hospital 3 days. The Coloplast leaks no matter what I do. I have had to chamge it every 6 hours. So sore. Now I have my LAST bag on. Don’t know what to do if this one comes off. As far as I can tell the coloplast does not fit. My last one is too small and painful. Any suggestions?
Contact your doctor or hospital where you had the surgery and ask to see or talk with an ostomy nurse (if they have one) to find a solution for you. This is all very new and you need to find the proper fitting pouching system. You have choices to try another pouching system or contact Coloplast and ask them for assistance or questions about their specific products.